


On this page you will find all the information you need to set up your Berkey® system: mounting, priming your Black Berkey® or PF-2™ filters and how to test your system to ensure it is working properly.
Installing your Berkey® system
You have just acquired a Berkey® system and you want to set it up. This is not a difficult task, but it must be carried out in a number of steps in order to ensure that nothing is forgotten and that the system is functional and provides optimum filtration. All steps are essential, including and especially the priming of the filters. If this is not done correctly, your filters will not work.
The contents of your box
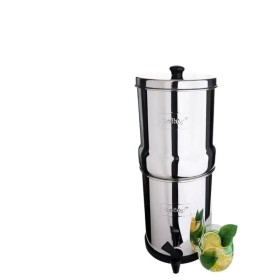
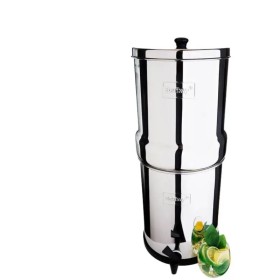
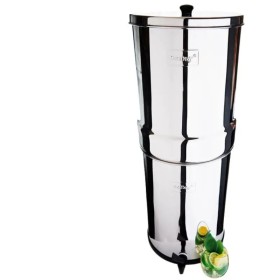
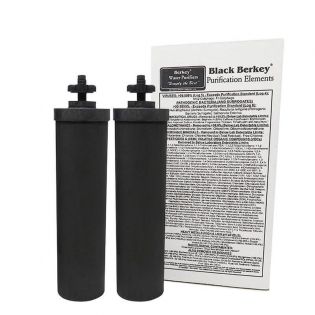
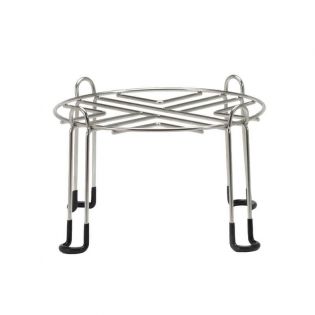
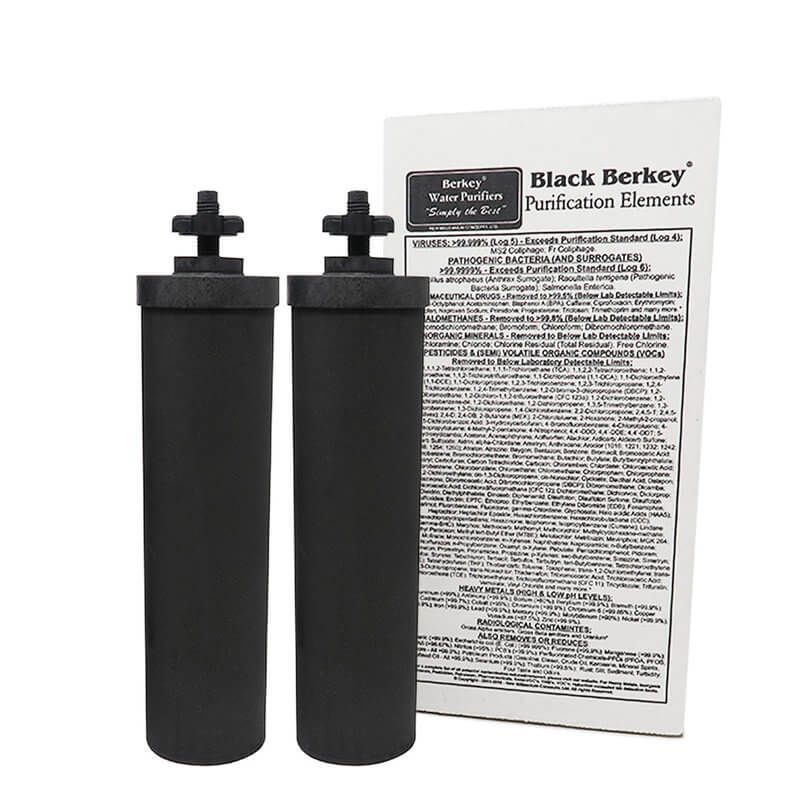
Each system is supplied with its top and bottom tank, its lid with knob and screw to secure it (stainless steel system), the standard plastic tap with washers and nut to secure it, the plugs to block the unnecessary holes in the top tank (not Travel Berkey® model) and a large non-slip rubber gasket that fits on the bottom of the bottom tank (stainless steel system). In a sealed cardboard box are a pair of Black Berkey® filters, each with a black gasket and wing nut for attaching to the top tank, and a brown washer that can be used to prime the filters (one of three priming methods).
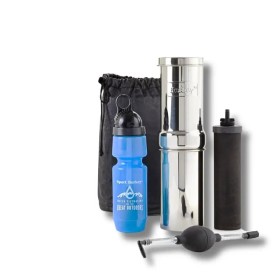
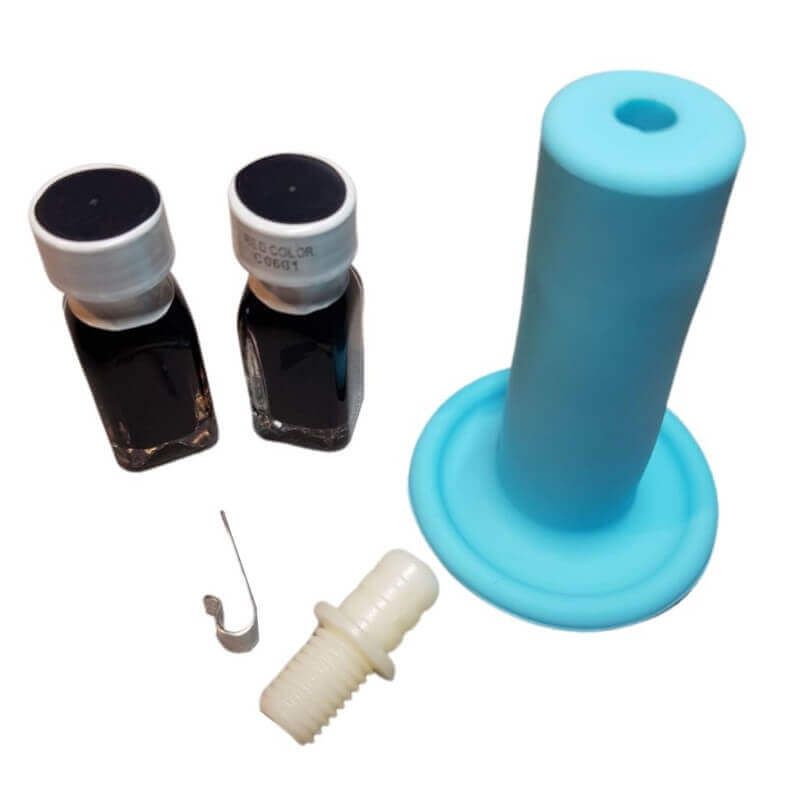
Contents of the Priming and Testing Kit
This kit comes in a plastic pouch and contains a blue teat for easy priming of your filters, a plastic adapter for priming optional PF-2™ filters, a metal anti-airlock clip and two small vials of red dye, the use of which is explained below.
If your system was purchased from Berkey®Store, download links to full instructions in English were provided in the order confirmation email and in the shipping email. If you have lost these emails and would like to retrieve the manuals, please contact us via our contact form, stating your order reference. An email containing the download links will be sent back to you.
These different manuals contain all the necessary and detailed information for the commissioning of your Berkey® system. A video is also available to guide you through the assembly of your Berkey® system.
Below is a reminder of the different stages.
Before you start
Check that you have all the parts described in the sections above. If you notice that something is missing or damaged, contact us so that we can send you the missing item.
Clean all parts: top and bottom tank, lid, tap, lid knob, tank caps and tap with hot water and a few drops of washing-up liquid. Rinse them well and position the tanks flat so that they cannot roll and fall out.
Caution: Do not wash Black Berkey® filters with any type of product. Just rinse them in cold water. PF-2™ filters can be cleaned with a dishwashing liquid, provided you have left the blue plugs that block them in place.
Assembly of the cover
Insert the screw with its washer from the bottom of the cover and screw the knob from the top by turning it clockwise, without forcing it.
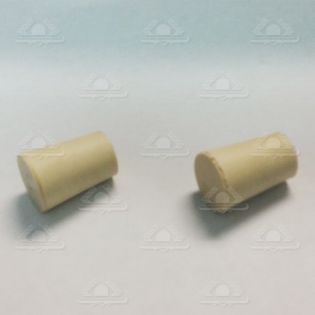
Installation of plugs
If your top tank contains more holes than the number of Black Berkey® filters to be installed, plug them with the supplied plugs. These can be screw-in plugs or simple rubber plugs, but this does not affect the performance of your system. If they are screw-in plugs, unscrew them and place them in each hole, inserting a silicone washer on each side of the tank, which must therefore be sandwiched between the two washers. The screwing is done from below, by hand, forcing reasonably well in order to make the seal.
If you don't have screw-in gaskets but simple plugs, put them on from the top, pressing down enough to make a seal, but not so hard as to damage them.
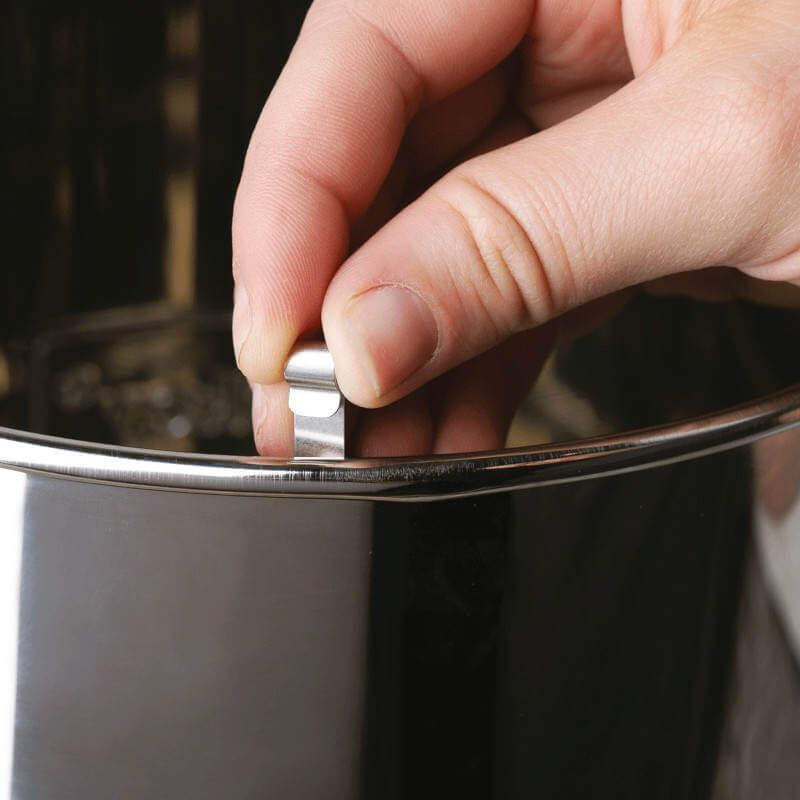
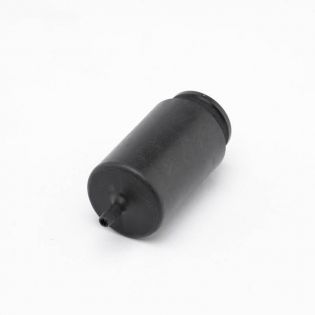
Accessory kit metal clip
This clip is used to create a gap between the two tanks so that air can pass through. This is necessary if the tanks fit together too perfectly, or if water is present at this junction, creating a tight seal.
Indeed, when you open your tap to let water flow, if no air can enter, the lower tank will be under pressure and after a while the flow will decrease until it stops completely.
This is where this clip comes in, allowing air to pass through and preventing this phenomenon.
Please refer to the documentation downloadable from your email for more details.
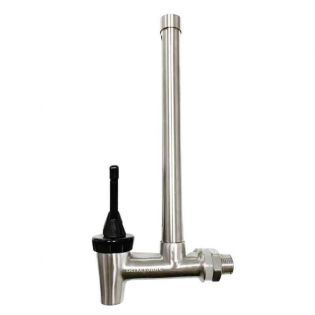
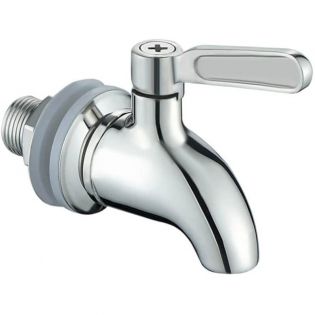
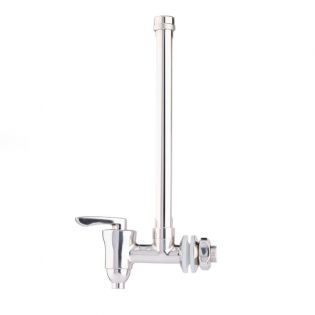
Fitting the tap
The tap is assembled on the lower tank, by positioning a washer on each side of the wall and tightening gently by hand. See details of the assembly on the documentation provided by us or in this video. In case of an optional tap, all stainless steel or level tap, see the instructions provided for the assembly.
Priming your Black Berkey® filters
This operation is MANDATORY and you must not put your Berkey® system in water until this step has been carried out. This is because the structure that makes up the filters is very dense and filled with air as long as they have not been used or after they have been drained, for example in the event of a prolonged absence. In addition, there is a high internal surface tension that naturally prevents water or other liquids from penetrating. In addition, the microporous structure, consisting of thousands of microchannels, is so fine that they retain red food colouring and even bacteria. This advantage, which makes it such a powerful purifier, requires priming to force air out of the structure and let water in. Without this step, your filters would work very slowly, if at all.
Priming can be done with the brown priming gasket supplied with your filters, with the blue teat supplied in the accessory kit or with the primer pump. In the first two cases, priming is done with the pressure of a tap. In the last case, with the pump, a container filled with water is sufficient. This accessory is necessary for priming without access to mains water, for example when travelling or in an emergency situation. All priming techniques, regardless of the method used, are described in detail in the downloadable instructions, the links to which were provided to you at the time of purchase in Berkey®Store. See this video for priming Black Berkey® filters in the classic way with the washer, and this video for priming with the pump. The priming technique with the blue teat is detailed in the downloadable instructions.
Installation of your Black Berkey® filters
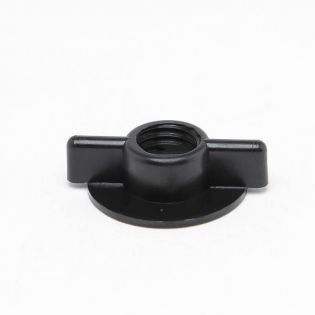
Once priming is complete for all of your filters, there is one final assembly operation. Your Black Berkey® filters should be inserted into the holes in the upper tank, with the sealing washer up in the upper tank, and tightened with the wing nut.
Caution: Although perfectly suited to the clamping function of the Black Berkey® filters, these nuts are made of plastic and can deform if they are not inserted perfectly perpendicular to the filter stem. Be sure to position them correctly and tighten them by hand until they are tight enough, without forcing them on, otherwise the threads will be damaged and the seal will be compromised. If a nut is damaged or worn over time, it can be purchased in the shop under spare parts.
The details of the installation of the filters are explained in the instructions supplied with your purchase. This video shows you how to install your Black Berkey® filters in your Berkey® systems.
Performing a red dye test
Berkey® systems are so efficient that they filter out the red food colouring in the water. And it's a great way to see if your filters are properly installed.
After you have done some filtering to ensure that your filters are primed and that you have no leaks, you can perform this test. After colouring your water bright red with food colouring, pour it into the top tank. If the water flows out perfectly clear, your filters are perfectly installed. If the water is slightly coloured or clearly coloured, the installation of your filters needs to be reviewed.
Important:
- Not all dyes are suitable for this test. The particular specifications they must meet are explained in our FAQ.
- If you have installed PF-2™ filters, remove them before performing this test.
The procedure for carrying out this test is explained in a detailed manual in French, the download link for which was sent to you when you purchased from Berkey®Store.
A video details the procedure for performing this test.

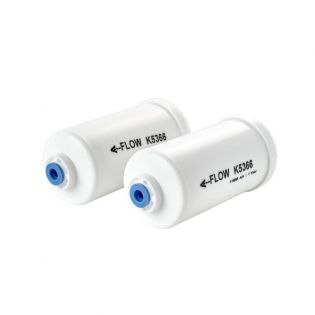
Priming your optional PF-2™ filters
The optional PF-2™ filters must be primed before their first use. This can be done simply under a tap using the silicone teat and adaptor that are provided in the accessory kit. The details of this operation are described in the downloadable leaflet, the link to which was provided when you purchased from our shop.
Installing your optional PF-2™ filters
PF-2™ filters are optional filters for enhanced filtration of heavy metals, fluorides and arsenic. They cannot be used alone and are installed in addition to Black Berkey® filters. As many PF-2™ filters should be installed as there are Black Berkey® filters installed in your system. Their installation is explained in detail in the instructions provided by download when you purchase from Berkey®Store. A video explains the installation.